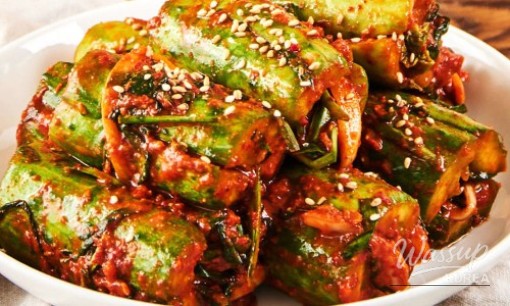
Making Refreshing Cucumber Kimchi (Oi-Sobagi) for Summer 2025!


Hello! It's the sweltering summer of 2025. I was wondering what could perk up my appetite in this heat, and then I saw the cucumbers in my fridge – inspiration struck! I decided to make Oi-Sobagi (cucumber kimchi). My kimchi-making skills aren't the best, but after a few trials and errors, I've developed my own secret recipe. Today, I'm going to share it with you!
The Secret to Crispness: Choosing and Preparing Cucumbers
Carefully Selecting Fresh Cucumbers
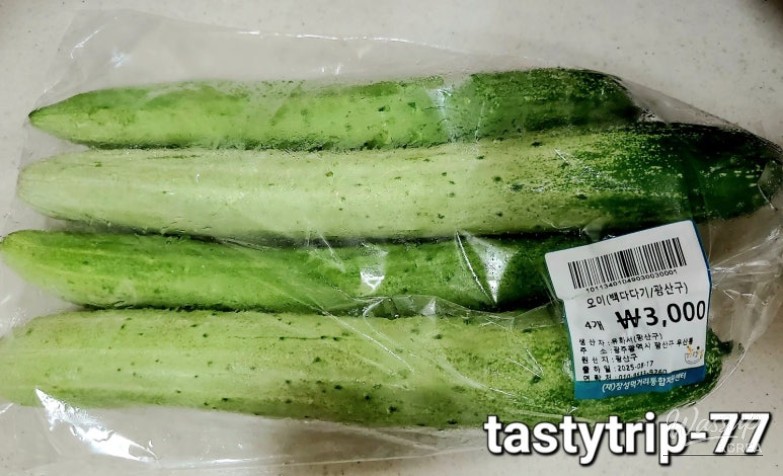
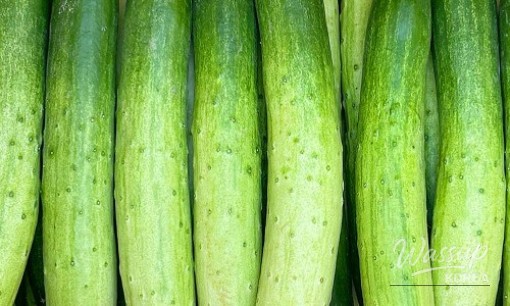
The most important thing in Oi-Sobagi is, of course, the cucumbers! I usually choose cucumbers that are straight, firm, and dark green. In 2025, there are many new varieties with less bitterness, which is great. The key is to choose cucumbers that are fresh and have no blemishes!

Clean Preparation for Added Crispness
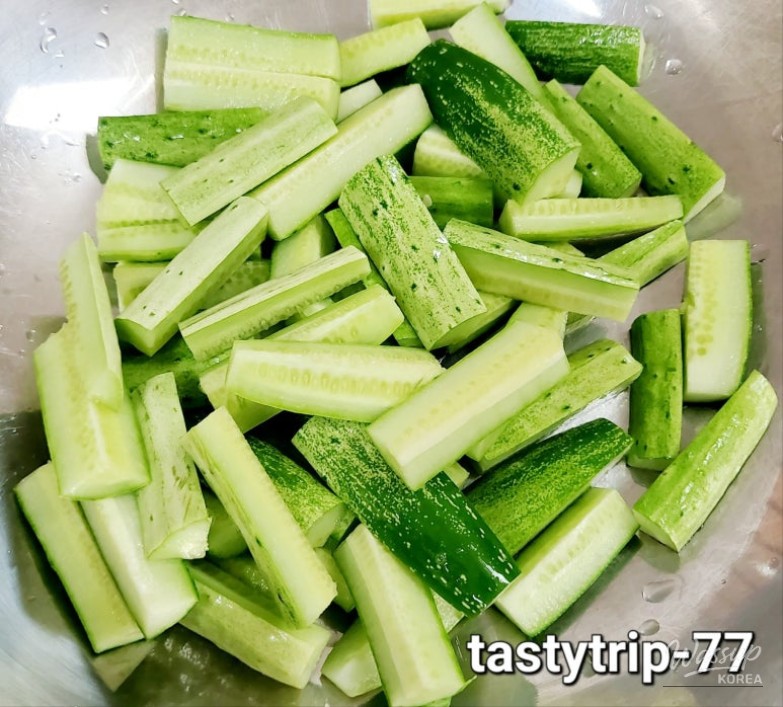
Wash the cucumbers thoroughly by scrubbing them with coarse salt. It's important to wash them carefully under running water until they are squeaky clean. Especially in the summer of 2025, I've been washing them extra carefully because I saw news that pesticide use has increased due to unusual weather. After washing, drain the cucumbers and chop them into 3-4cm lengths, depending on your preference. I like bite-sized pieces.
The Core of Flavor: Making the Seasoning
The Golden Ratio of Seasoning: Balancing the Flavors
The seasoning is what makes or breaks Oi-Sobagi! I'm revealing my own golden ratio:
• 1 cup Gochugaru (Korean chili powder): Adds color and a spicy kick to the kimchi. I used the new 2025 Gochugaru, and the color is amazing!
• 3 tbsp minced garlic: An essential ingredient in Korean cuisine! Add plenty to enhance the flavor.
• 4 tbsp Anchovy Sauce (fish sauce): The secret to deep umami. I like a strong anchovy flavor, so I sometimes add a little more.
• 2 tbsp Salted Shrimp (saeujeot): Adds a refreshing taste and doubles the umami. In 2025, we have salted shrimp without microplastic concerns, so I can use it without worry.

• 1 tbsp Ginger Juice: The pungent aroma goes well with the cucumbers. I find it convenient to use frozen grated ginger.
• 2 tbsp Plum Syrup (maesilcheong): Creates a harmonious blend of subtle sweetness and sourness. Using plum syrup instead of sugar makes the flavor even better.
• If it's not salty enough, adjust with salt and sugar to your liking.
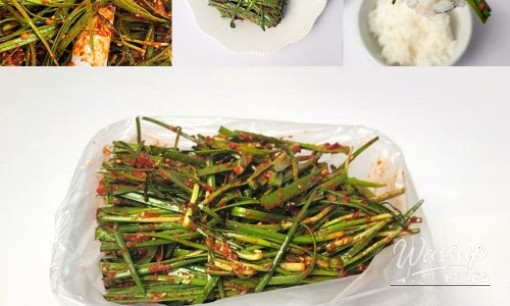
Mixing the Seasoning: Adding Care
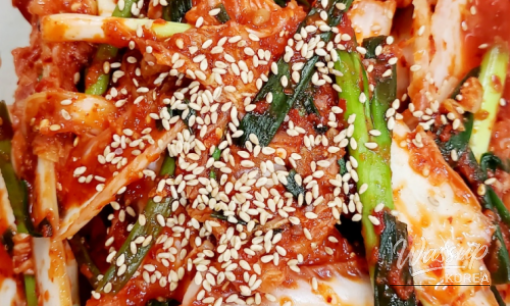
Add all the ingredients and mix them well. It's important to mix the seasoning carefully so that it's evenly distributed. I had some chives and purple onions in the fridge, so I mixed them in as well. You can omit them if you don't have them.
Fermentation and Storage: Enjoying the Changing Flavors
After mixing the seasoning, let the Oi-Sobagi ferment at room temperature for about half a day, then store it in the refrigerator. The flavor of Oi-Sobagi deepens over time, just thinking about it makes my mouth water! Personally, I like the freshly made refreshing taste, but I think Oi-Sobagi that has been fermented in the refrigerator for about 3 days is the most delicious.
Tips for Enjoying Oi-Sobagi Even More
Side Dishes: Adding Flavor Synergy
Oi-Sobagi is great as a side dish with rice, but it's also delicious when eaten with other dishes. I like to add it to Bibim Guksu (spicy mixed noodles) or wrap it in lettuce with other ssam vegetables. It's especially a fantastic combination when eaten with Kong Guksu (cold soybean noodle soup), a summer delicacy!
Oi-Sobagi Recipe Ideas: Experiencing Diverse Flavors
The leftover Oi-Sobagi juice is very versatile. I tried adding Oi-Sobagi juice when making egg rolls, and it added a delicious umami flavor! Also, it's a delicacy to finely chop Oi-Sobagi and add it to fried rice.
What did you think of my Oi-Sobagi recipe? Even those who find making kimchi difficult can easily and deliciously make Oi-Sobagi with this recipe! This summer, beat the heat with homemade, cool, and crispy Oi-Sobagi!


No comments yet.